Search my blog

Friday, September 21, 2012

Fall Wreath DIY!!

What's better than a DIY for an awesome Fall Wreath? It's time for a little seasonal fun! Let's get straight to the "how-to".


Everything that my friend and I used for this project was bought at Hobby Lobby. If there isn't a Hobby Lobby near you, I would suggest either Michaels, orrr... any other art store. Seriously people, go to any major art store and you'll find everything you need. I spent $25. Totally worth it. Especially since wreaths retail anywhere between $80 & $120. This is so worth it.


Here's the list:


Metal/wired wreath- 12 or 16 inches


Burlap- 4 inches wide by 2.5 yards (11 strips total per wreath needed)


Super glue & Command Strip Hook- any glue that can work on fabrics and ceramics. I used Scotch Maximum Strength Glue. Command Strip Hooks are also sold at the craft store.


Embellishments- This is my favorite part (pumpkins, leaves, glitter, etc.)


Here's what to do:


Make sure your burlap is cut into 4 inch wide strips that are 2.5 yards long. You need 10-11 strips for the wreath. Take the other edges of the burlap strip and bend them inwards. You'll want to do this pretty much the entire way around the wiring but it is supposed to be a little sloppy. It doesn't have to be perfect.


Take the loop and thread it through each individual spacing, and repeat... all the way around the wreath.


It should start to look like this. You will want to scrunch up the loops and push them closer together to create that extra bubbly effect.


Kristen hard at work. And yes, we got a ton of embellishments.


My wreath in its final stages.


Take your embellishments, and place them on your wreath. This is where a lot of super strength glue comes in handy.

Let me interject by saying that I love this little guy, Kristen's baby.  Definitely enjoyed having him around today during our art extravaganza. Such a cutie!


Now the final product...


Gorgeous, right?


Happy Fall everyone! Hope you enjoyed the DIY!

Noemi

Tuesday, August 21, 2012

Pear à la Crisp: Recipe for sweet-tooth goodness

Ready to get 'in' on a kick butt recipe otherwise named Pear à la Crisp? This will be a quick one; and a delicious one at that. Here is what the delicious masterpiece looks like.


I'm feeling a little hungry!

So, here is how it goes.


Try to find some ultra hard ripe-ish pears at your local grocery store...

You don't want your pears too soft or else they'll come out of the oven looking like figs. Seriously, trust me on this one.


Give them a good skinning.

... or whatever you call it. Peeling, I guess. 


Halve them.


Scoop out their inners...


Like so.


Slice 'em...

and...


dice 'em.

Plain and simple people.


Throw the cubed pears in a bowl and add some sugar... generously!


Sprinkle in some salt and mix it all up.


Now for the topping!


Throw about 3 cups of flour, two handfuls of cinnamon, 1 cup of sugar, and a lot of cinnamon into a bowl.  Chop up some pecans and throw them in there too!


"Just throw 'em in the bag." Alright, just throw them in the bowl. haha


Mix it up!


Melt 1 stick of butter and pour it into the flour and pecan mixture.


Mix it up! This is how it should look when it's ready to spread over the pears.


Butter your baking pan, pour the pears in the pan, and cover with the pecan mixture. Bake @ 350 for about 25 minutes... Or longer depending on how golden you want that topping and the pears. Mmm.

Voilà! Looks delicious, right? It tastes SO good. 

Not.

Even.

Joking.


Much love. 

Sending healthy eating your way. or not ;)

Hey! It's ok to splurge! Live a little. 

Noemi

Monday, August 13, 2012

My Rustic Sloppy Joe Recipe! It's country good!


A timeless classic, yummy grub, and my own personal touch- It's Rustic Sloppy Joe, actually, I called it the Joe Sloppy, but for the sake of confusion let's just call it sloppy joe! It's honestly pretty easy. I would much rather make my very own Sloppy Joe than to buy some blob in a can from the local grocery store. Seriously, the 40 minutes you spend making this is totally worth it. So, here's the recipe! (On a side note, the recipe for the Pasta Salad is here) 


Start off with 2 pounds of ground beef. However, you can add more; shoot, if you wanted to make sloppy joe for 10 people, you are looking at 5-7 pounds of ground beef.  Ryan and I are big eaters so we ate the 2 pounds ourselves with just a tad bit leftover for me for lunch today! Doesn't give you much of an idea of a portion because we each eat for two, but you get the picture.

Add butter to your pan. Butter it up. Then, brown the meat, and brown it so. 


When the meat is done browning, drain out a majority of the fatty oils that have accumulated. 


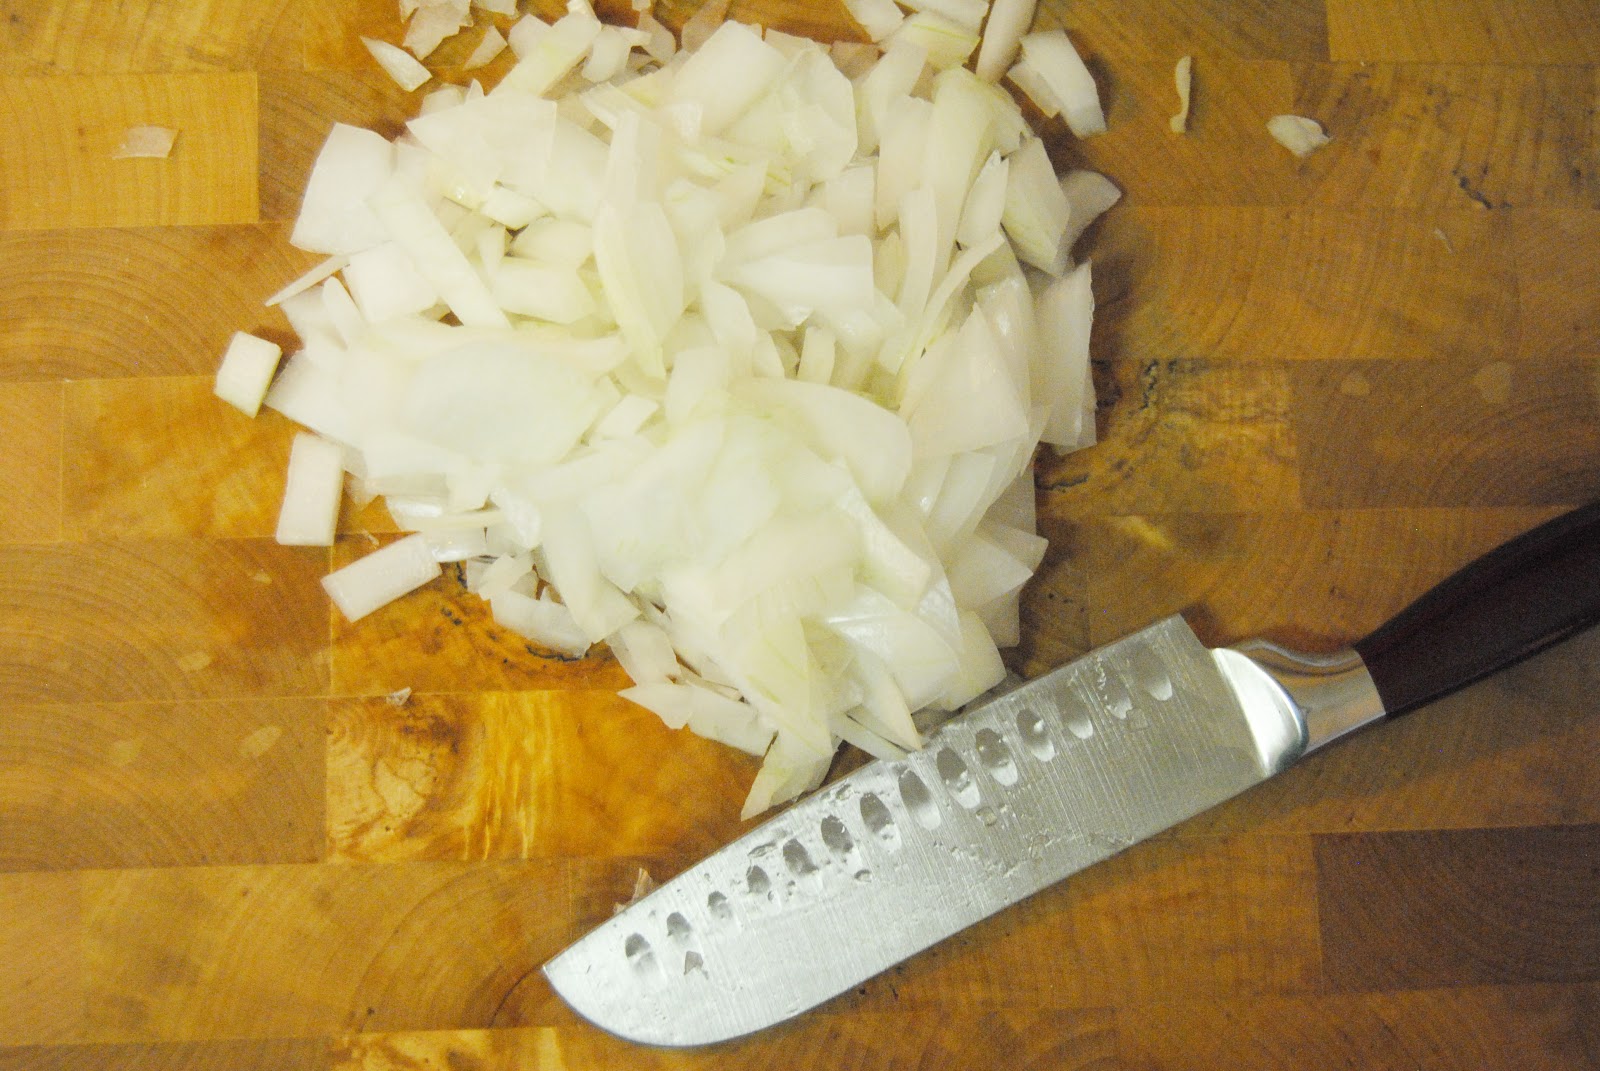
Chop up half an onion like this. If you don't know how to chop up an onion, well, I'll think about uploading a how-to because you don't want to look like a blind man with a sledge hammer when you're cooking for guests...

seriously.


Chop, chop, chop. 

Take one green pepper, cut off the top and bottom, and cut it into strips, and then into tiny squares, again. 


Boom boom bam. 


P.S. I love my cutting board! Courtesy of Tar-jay. 


Throw in the onions and peppers... 


Look at my beautiful nail polish. not. I need a shellac manicure. Add in 2 tablespoons of minced garlic. 

Keep burner on medium heat for the steps here on out unless otherwise stated otherwise.

Otherwise stated otherwise? Wow, that makes sense...


Measure out a cup and a half, a little more, or a little less of ketchup. Heinz ketchup. It HAS to be Heinz! Just kidding people. Any brand will do. Stir it up.


Add in 3/4 cup or so of water. I wouldn't use a full cup. This is supposed to be for a sloppy joe sandwich, not a soup. 


Add in 5 pinches of dry mustard and 5 pinches of chili powder. Also add about half a cup of brown sugar... 5 dashes of salt, and 5 dashes of ground black pepper. 

No picture for the brown sugar, pepper or salt. It dissolved into the heap before I turned around to grab my camera. Sorry guys...


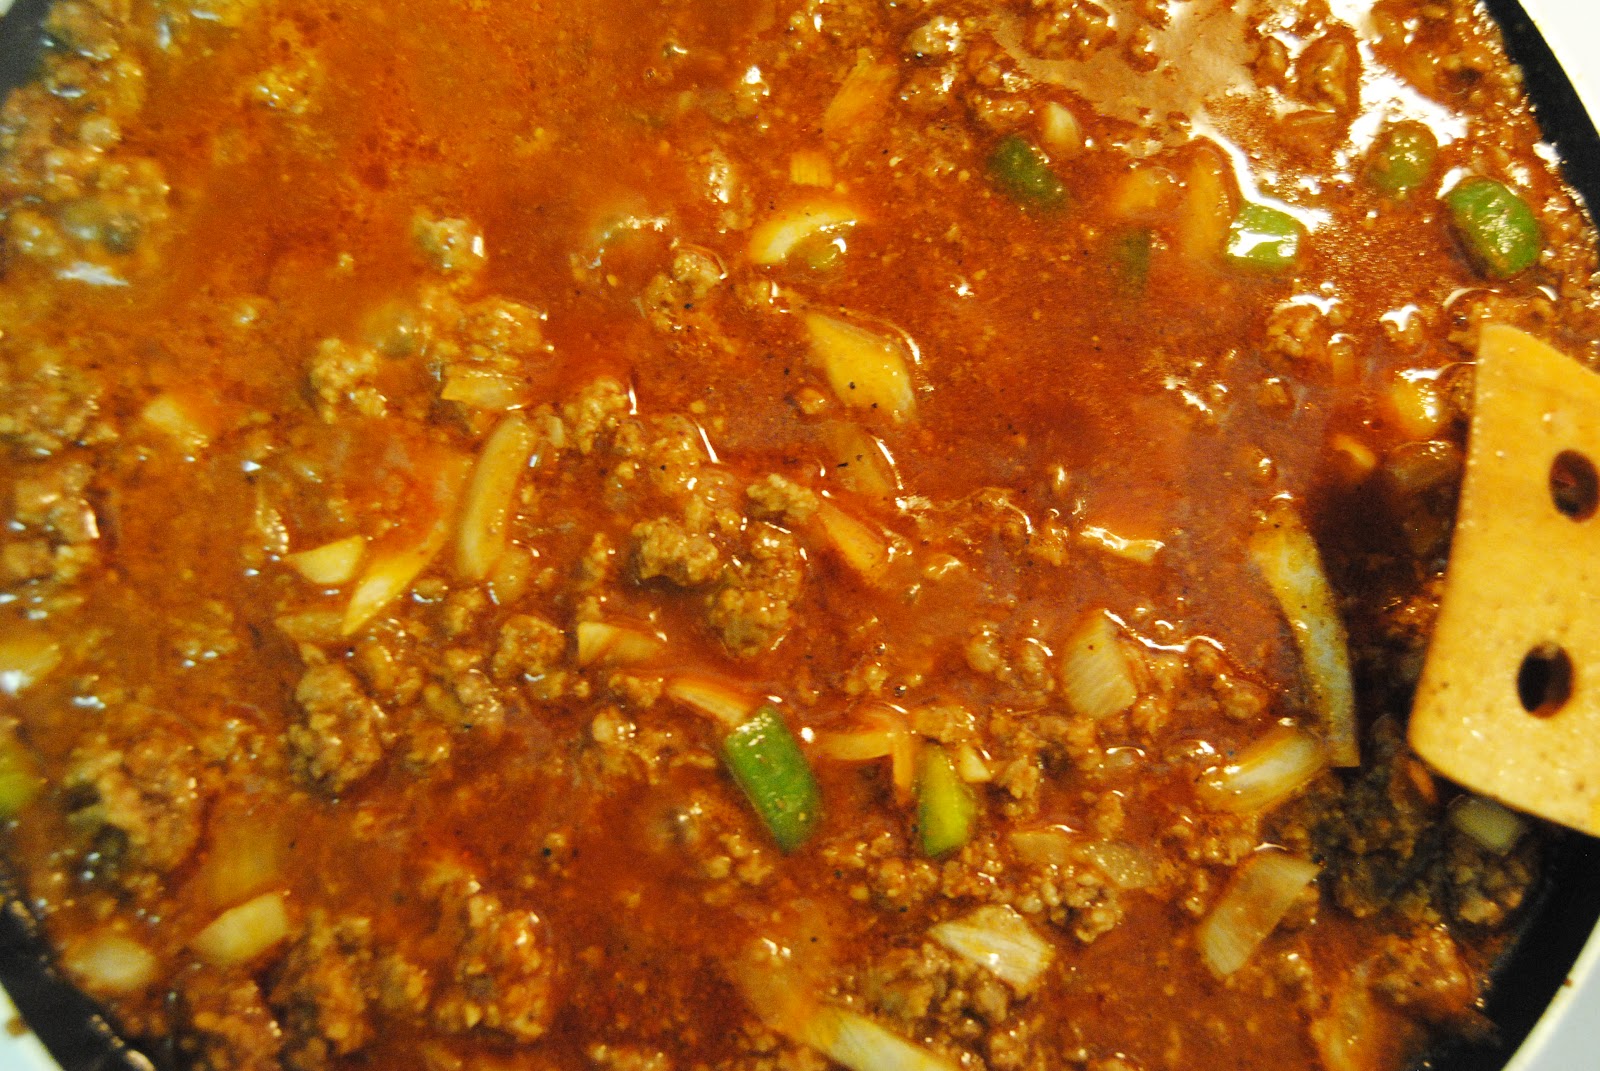
Purpose for this picture? I don't know... I thought it looked pretty. Let this concoction sit for about 20 minutes on medium heat. Stir occasionally. 


While that heap of meat is sitting, it's time to... u s e   s o m e   b u t t e r  

My very own toasted buns! Not literally my buns, but bread buns, even though my buns are full of bread, ugh. You get it.


Butter that flat pan and butter it good! (I butter pans with a stick of butter. It's so much easier and I can use up all I want.) Dear cardiologist, take a look at the heaping amount of Imperial Butter on my pan right now! 


Lay those buns sunny side up and toast 'em. Yes, I just said sunny side up. 


Make sure you coat up the butter on the flat pan. Without butter, you aren't getting the full experience and taste of these Rustic Joe Sloppy's... I mean Sloppy Joe's.

Oh my goodness these look delicious...


Add a good sized portion and heap of meat slop onto your bun and devour with great pleasure. My mouth is watering.

Pair it up with a side of Homestyle Homemade Pasta Salad or potato chips, and a Lime-A-Rita. 


Enjoy it y'all. They're delicious, low calorie, and inevitably the greatest Joe Sloppy you'll ever eat. 

Love, 

Noemi

Monday, July 23, 2012

DIY chalkboard tutorial: a little up-cycling

It's time for a DIY! Today it's the tv tray turned vintage chalkboard! 


Step 1: Buy a tv tray. You can get these from Target, Walmart, Hobby Lobby, or a thrift store. I got mine for $1.50 from Austin Thrift- a little junkie store here with vintage items. 

Honestly, this tv tray was pretty hideous. There's no way I would've been eating any food off of this white thing. haha. 

Step 2: Clean off the tray, wipe it down, remove the gunk from it and let it dry.  Try to get a tray that doesn't have awkward handles or legs so that way you can avoid having to saw them off. 

Here is the before picture. 


Reason why it isn't being shown completely- I'm a clown and started painting almost immediately before I realized I hadn't taken a before photo. Durr. 

Step 3: Ryan and I want a turquoise, coral, and brown theme apartment, so I painted the frame turquoise. Paint everything except the back side and the face of the tv tray. The face is where your chalkboard paint will go.  Coat 3 times. 

Step 4: Use chalkboard paint from any craft store, or make your own, to coat the entire face of the tray. I had to use 4 coats. I really wanted that thick black tone rather than the shady white lines that are visible through the chalkboard paint. Just personal preference I guess!


Step 5: Let it dry and chalk it up with some cheapy RoseArt chalk.  (Target had a pack of 30 on sale for $0.99. 


Aside from this tutorial, I'm desperately awaiting for my Gocco to come in the mail, and combine my very favorite two things- Kraft Paper and the Gocco Printing Press. Ohhh I can't wait!! 

Much love,

       Noemi 
                 X O X O